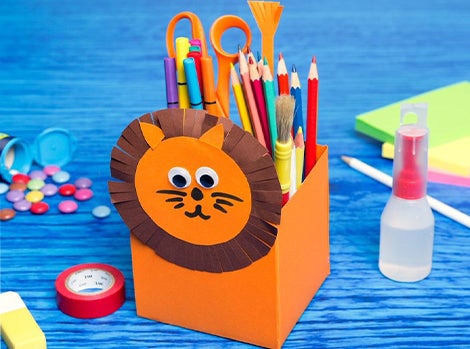
Get your kids busy with a project they will love from beginning to end. If you’re looking for pencil holder ideas that are easy and fun for the whole family to join in, here is our version featuring the King of the Jungle himself. This is how to make your own lion pencil holder.
30 minutes
Video Tutorial
You'll need:
2 x Orange card (A4)
1 x Brown card
Small cereal bowl
Safety Scissors
Pencil
Black Pen
Glue stick
Smart Tips to involve little Smarty pants
Kids will love decorating the lion’s face. If you have any spare card you can add a tail too!
DIY pencil holder step-by-step
-
1
Use the bowl to draw one circle on the orange card then cut out the circle using safety scissors.
-
2
Place the orange circle on the brown card and draw a circle approx. 3cm larger, then cut out the circle using safety scissors.
-
3
Using the glue stick, glue the orange circle to the brown circle.
-
4
To create the mane of the lion cut into the brown card all the way around the edge.
-
5
Draw & cut two ears from the leftover orange card and stick using the glue. Then finish off by drawing the eyes, nose & mouth. Don’t forget the whiskers too!
-
6
Now time for the holder! Draw a 10cmx10cm square on the spare piece of orange card. Then draw another four squares off each side adding adhesive tabs on the two horizontal squares.
-
7
Cut out everything using safety scissors and glue into a square box.
-
8
Finish off the pencil holder by gluing the lion’s head to the side of the box!
Explore More Activities


